marco’s 3rd birthday party: cars & trucks || fiesta de cumpleaños de marco: autos y camiones

LÉELO EN ESPAÑOL

So my “baby” is 3 years old now!

Wow! I still feel that the 1st year went super slowly, from that moment to the 2nd birthday it went a little bit faster but let me tell you… From his 2nd to this 3rd birthday time flew!

We are still new to San Jose, CA so we didn’t throw a party this year but still we decorated the house and prepare a special cake for him.

The theme for this celebration was: Cars and Trucks.

IMG_6026

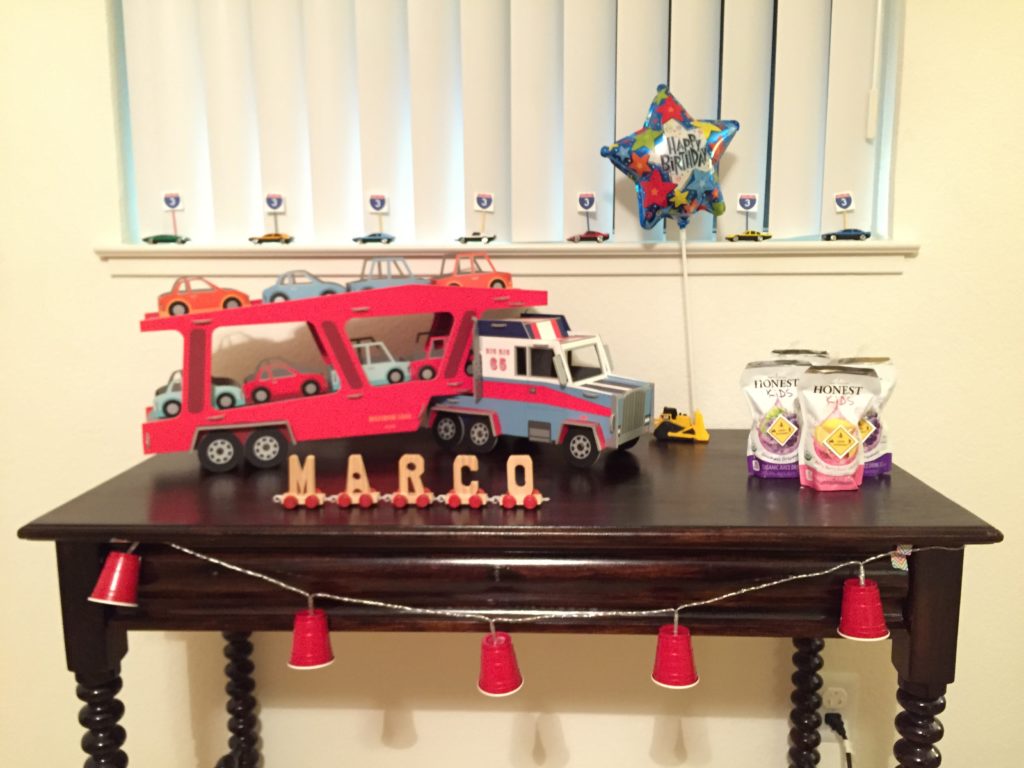
I prepared everything the night before so he could wake up and find the surprise (that’s why the picture has no natural light!).

IMG_6024

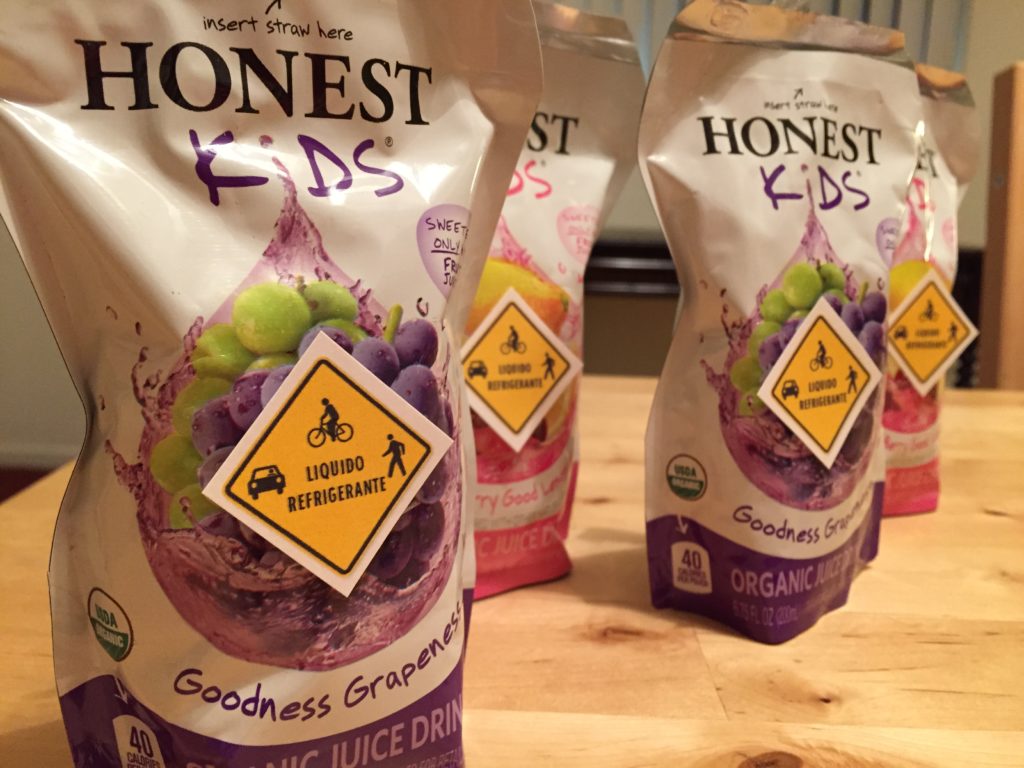
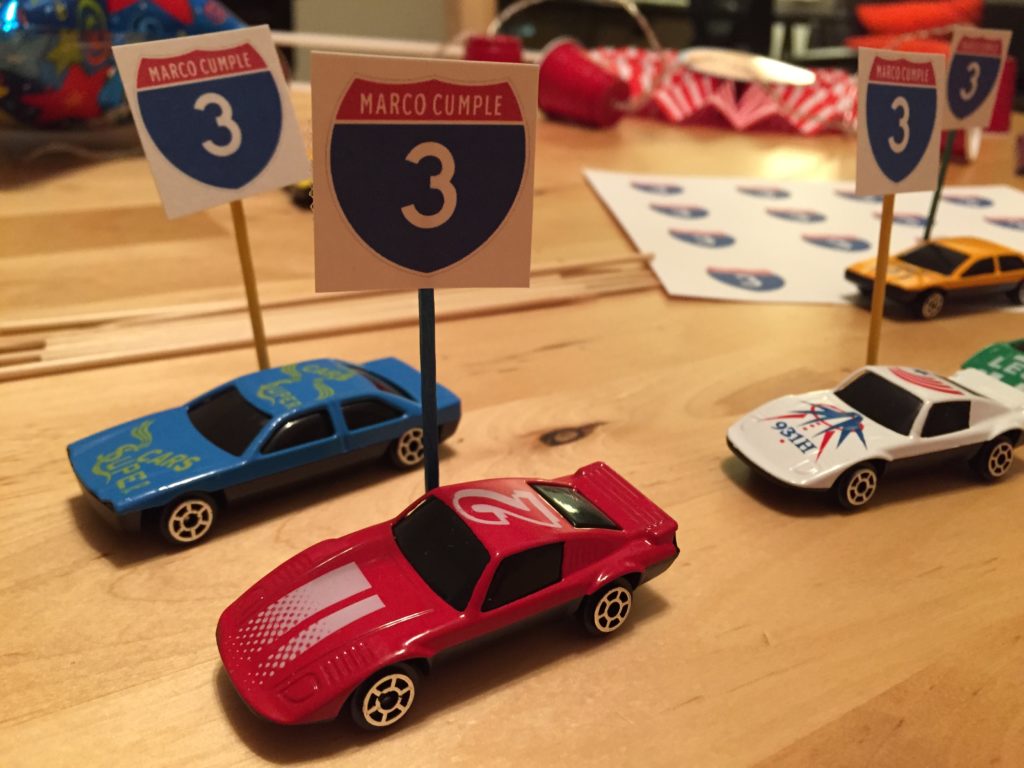
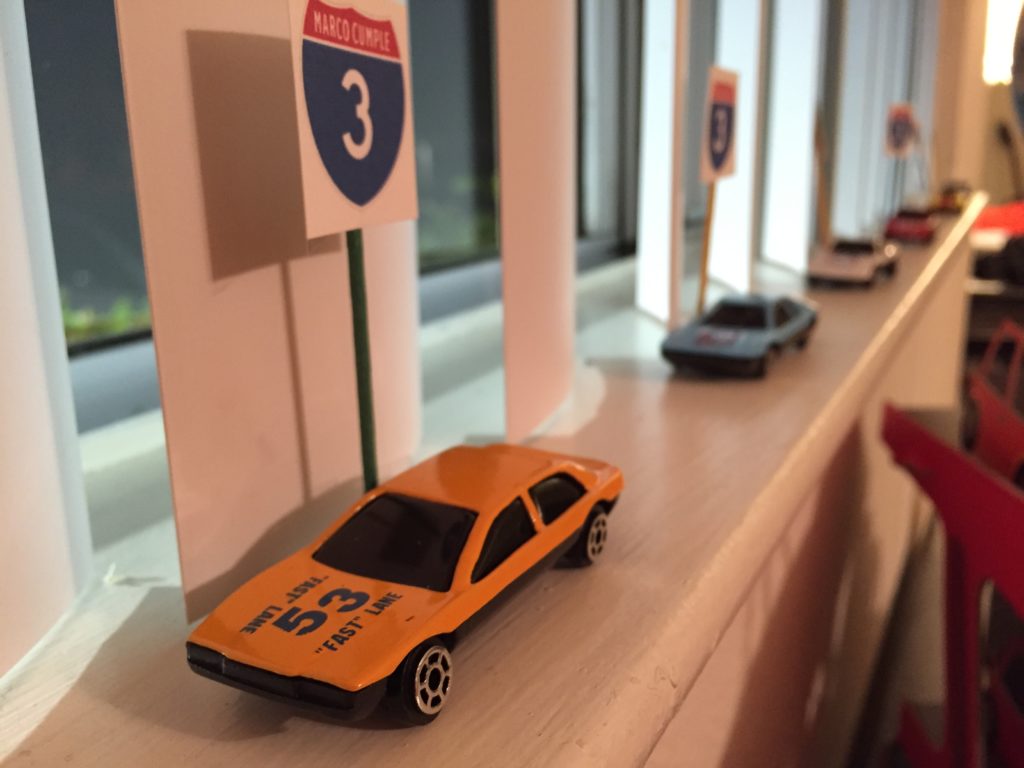
I designed some silly signs for the juices and the cars.

IMG_6025

In case you like this idea, I’m giving away the free downloadable the Interstate 3 Sign file and also the Yellow Sign (this last one is in spanish).

IMG_6028

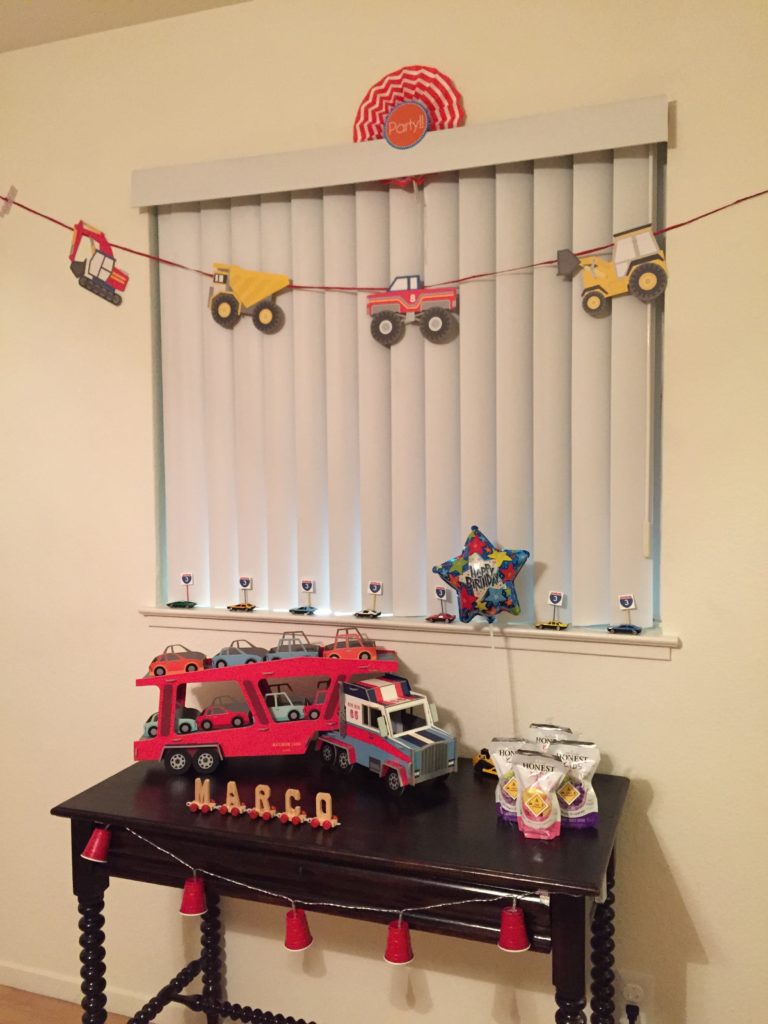
The wooden name-train from his 2nd birthday party was still useful for the table but I didn’t display the main engine.

IMG_6029

This little guy was so surprised in the morning when he found his “birthday table”…! The picture is terrible but that’s the best I could do at 6am!

The trucks candles from Wilton were great addition to the most amazing buttermilk “tire cake”.

Happy birthday my sweet boy! <3


ESPAÑOL

¡Mi “bebé” tiene 3 años!

Yo aún siento que su primer año de vida fue súper despacio; luego entre el primer año y los dos años fue un poquito más rápido pero entre los dos y los tres… ¡Guau! ¡El tiempo pasó volando!

Todavía somos nuevitos en San Jose, California como para hacer una fiesta de cumpleaños con invitados, así que decidimos celebrarlo entre nosotros solamente, decorar la casa y preparar una torta especial.

El tema de su cumpleaños fue: Autos y Camiones.

IMG_6026

Preparé toda la decoración la noche anterior para que Marco despertara con una linda sorpresa de su “mesa de cumpleaños”.

IMG_6024

Diseñé estos cartelitos graciosos para pegarlos a los jugos y a los autos.

IMG_6025

Si les gustó la idea, se los doy gratis para descargarlos e imprimirlos directamente. Los carteles amarillos en español lo descargan en este link Yellow Sign y los carteles de la Interestatal 3 genéricos que creé lo descargan en este link Interstate 3 Sign.

IMG_6028

El trencito de madera con su nombre de su fiesta de 2do cumpleaños me sirvió también para la mesa pero le quité la locomotora y el vagón trasero.

IMG_6029

Mi pequeñito estaba super feliz con su sorpresa! El camión de cartón y los autos porta-cupcakes son de la colección Construction Party de Meri-Meri.

Las velitas de camiones de Wilton fueron perfectas para la torta-cubierta ¡más deliciosa que jamás he hecho!

¡Feliz cumpleaños mi dulce y hermoso Totó!

introducing: summer deliciousness

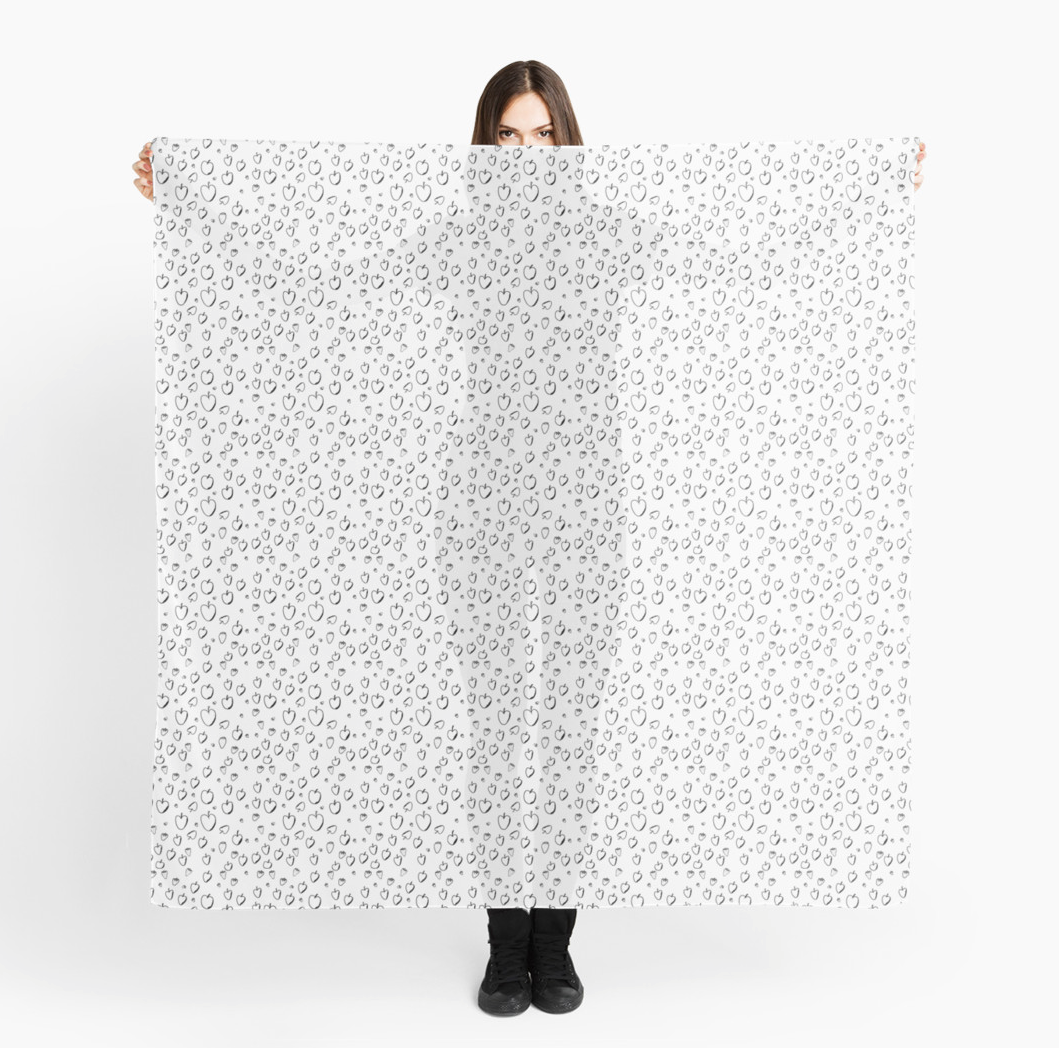
In the last weeks, I’ve been studying a little bit about creating patterns and today I want to share with you a new product that I have for sale: scarves! (a *must* for our Northern California weather!)

The illustration is a simple line drawing inspired in the summer deliciousness: cherries & strawberries.

It’s available for sale here.

Soon, it will also be available as a fabric, wall or gift paper here.

*I’d love to have your feedback on this! Feel free to leave your comment below!

Mother’s Day Giveaway!

Friends, I am very happy to host a giveaway for Mother’s Day!

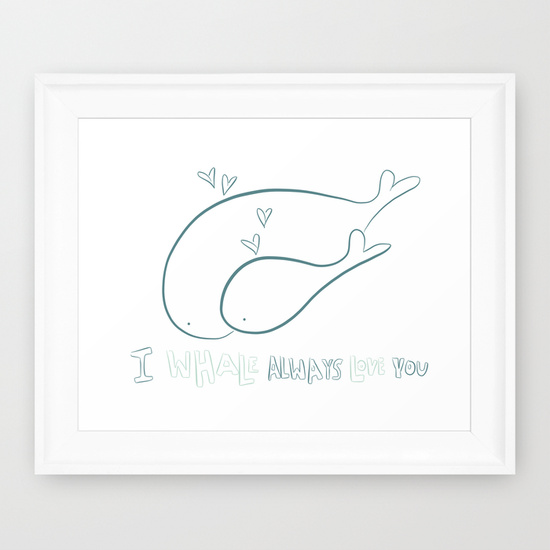
You can win this art print (my favorite one!)

8651490_8948600-prn01_lz“Mommy & Me – Whales.” 

To participate, just pick one or more of these:

You have time until May 4th, 2015 at 00.00 Pacific Time (yeah! May the force be with you all!). Valid for US residents only.

Specifications: Art print / Mini (10″ x 8″). Gallery quality giclée print on natural white, matte, ultra smooth, 100% cotton rag, acid and lignin free archival paper using Epson K3 archival inks. No exchanges. No valid for cash value.

fabric and paper for sale + promo link!

Hello friends,

I’m very happy to tell you that some of my designs are now available for sale as gift wrapping paper, wallpapers and fabric! You can buy it here.

Screen Shot 2015-03-03 at 10.06.23 AM

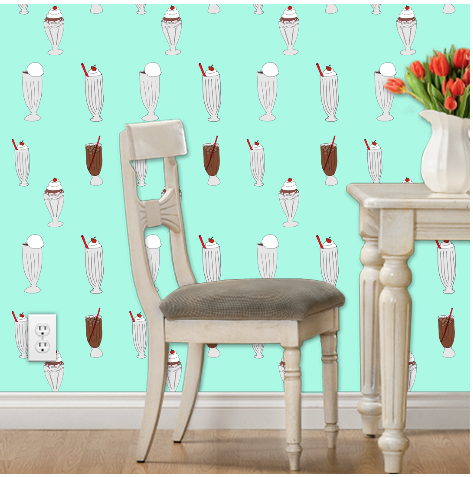
Some of the designs are from the “cute animals: mommy and me” collection and there’s also the “milkshakes, sundaes and floats” design.

show_imageThe cute animals collection makes me think of a nursery, sewing baby/toddler bed sheets with those fabrics and hang an art-print frame with a similar theme illustration on the wall. What do you think? In case you’re interested, I leave you this link so you can have FREE Worldwide Shipping on art-prints and more.

8651490_8948600-frm715wt01_pm

The sundaes, floats and milkshakes fabric inspire me to sew a blouse or a dress (this also reminds me that I need to improve my sewing skills! lol!).

I know that these are just the very few first steps, the beginning in fabric and gift wrapping paper design but I’m enjoying it so much and I just LOVE the idea of  wearing what I draw. So, I know  that I will do some more designs.  I’ll keep you posted when I upload the new ones!

Thanks friends for the encouragement and the support. I really appreciate it <3

Love,

andreacomenta

hallacas

Hallacas is a traditional venezuelan meal that is served during Christmas holiday. It’s a recipe that gathers the family on its preparation and it also transmits the multicultural heritage of Venezuela since it needs ingredients from different continents.

I’ve only tried this dish twice in my life before attempting cook it. Both times the same presentation was the same but the stew that was inside and also t he dough was different in taste. That’s because it has a lot of variations and of course, each family has kind of their own way of doing it.

Nevertheless, I like challenges. So, I searched and found a recipe that could be adapted to the ingredients that I could find in America and guide me a little. I also watched some videos on Youtube and of course, I had the best guide: Victor, who ate Hallacas  a million times in his life so he was kind of my guide thru this almost impossible task.

I bought everything I needed in the 16th and Mission (latin neighborhood in San Francisco) and at Mexicana Produce in Downtown San Bruno. I needed 24 hours to do everything BUT if you have more time, it’s absolutely better. All the flavors of the stew will arise with unless one more day.

I have to say that I’m very proud of myself on accomplishing this task and preparing a delicious meal that can also transmit part of my husband’s family cultural heritage.

So, today I’m proudly sharing with you the most difficult recipe that I’ve ever done: my own adapted recipe of Hallacas.

You’ll need:

For the Stew

  • 1 hen (about 2.5 lbs)
  • 8 cups water (enough to cover chicken)
  • 1/2 cup celery
  • 1/2 cup scallions
  • 2 tsp garlic salt
  • 1⁄2 cup vegetable oil
  • 2 lbs pork shoulder, with some fat remaining
  • 1 lb ground beef
  • 3 cloves garlic, minced
  • 2 cups white onion, diced (about 2 medium onions, I used the already sliced from Trader Joe’s)
  • 1 cup leeks, white and pale green portion only, thinly sliced (I used the frozen ones from Trader Joe’s)
  • 1/2 cup green onions, thinly sliced
  • 2 cups red bell, green and yellow peppers sliced (I used the frozen and sliced from Trader Joe’s)
  • 1 can organic diced tomatoes
  • 1⁄4 cup capers, finely diced
  • 1⁄2 cup pimiento-stuffed olives, sliced
  • 1⁄2 cup muscatel (Muscat) wine
  • 1⁄2 tsp freshly ground black pepper
  • 1/2 tsp lime juice
  • 1/2 cup organic raisins
  • 1 cup shredded papelon / piloncillo (sugar cane cones sold al Latin stores) dissolved in 1 cup water.
  • 1 tbs worcestershire sauce
  • 2 tsp salt

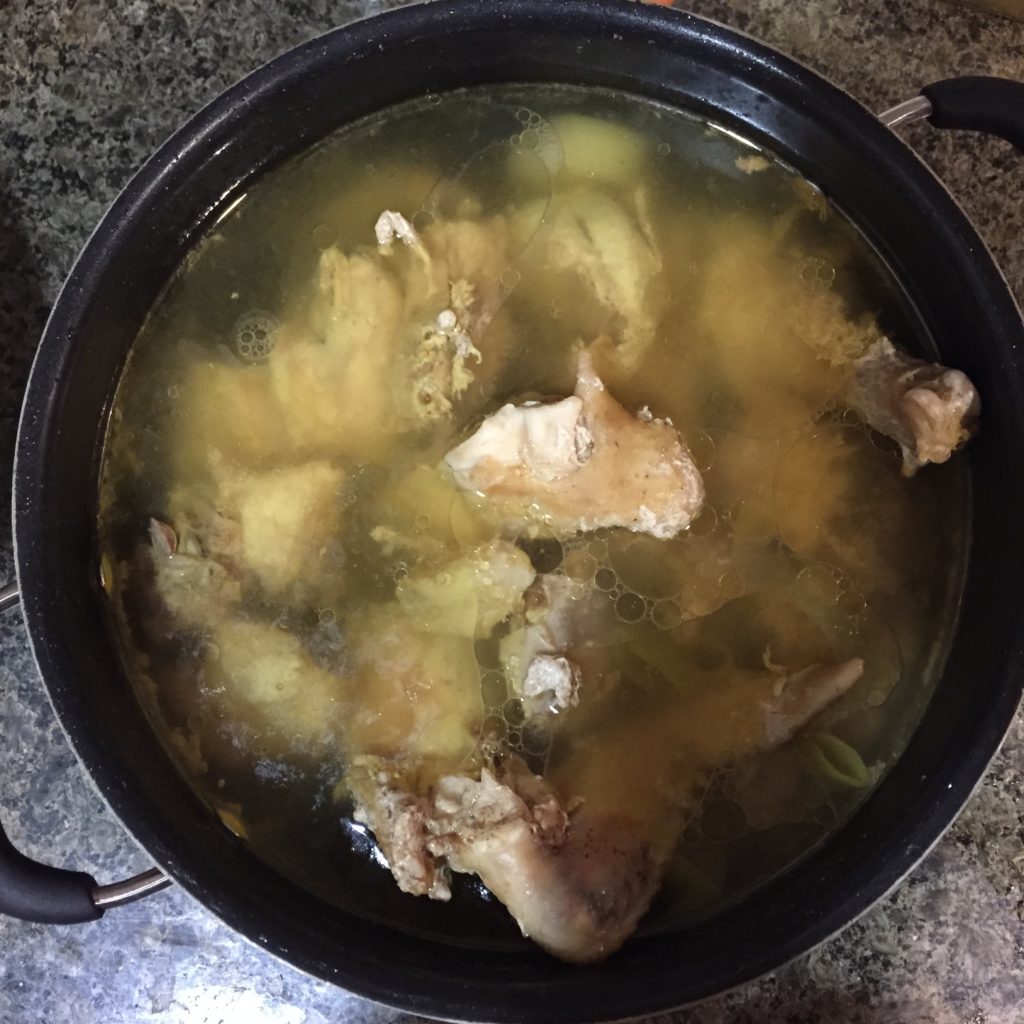
First, put the water and the hen in a large sauce pot. Bring it to a boil and add the celery, scallion and garlic salt. Cook for about 30 minutes at a medium heat.
IMG_1358

Transfer the hen to a plate and save stock. When the hen is at room temperature, pull the meat from the bones and shred it using your hands.

In a large sauce pot, heat oil and add the pork and ground beef to cook. Stir frequently until the has brown a little.

Reduce heat to medium-minimun and add more vegetable oil. Then, add the leeks, green onions, onions and garlic. Add 1 cup of the saved hen stock and stir frequently. Don’t let the vegetables go brown.

Add peppers, diced tomatoes and 1 more cup of the stock. Let it cook for 10 minutes at low heat.

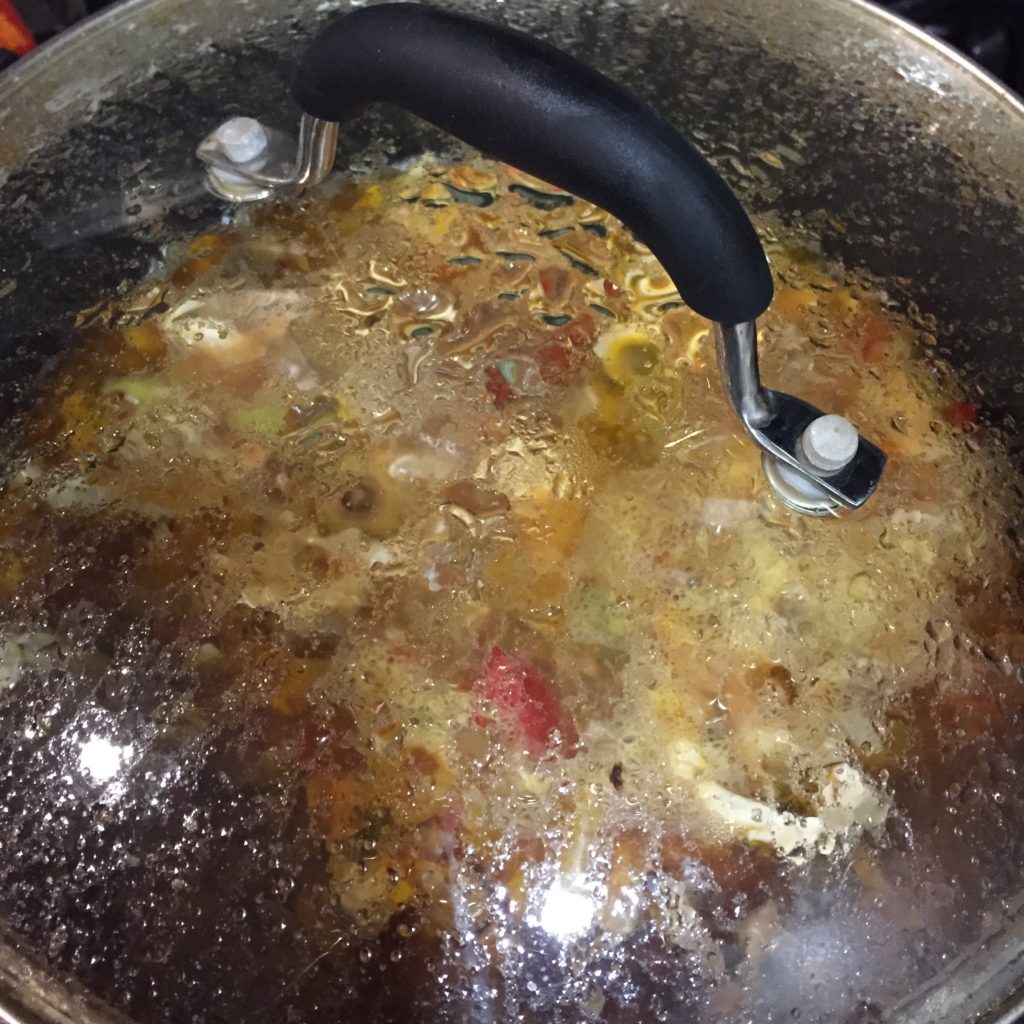
Add the diced capers, olives, the papelon already dissolved in warm water, the organic raisins, sliced olives, muscat wine, worcestershire sauce, salt, pepper, lime juice and one more cup of the stock.  Let it cook on low heat for 30 minutes stirring ocassionally.
IMG_1362

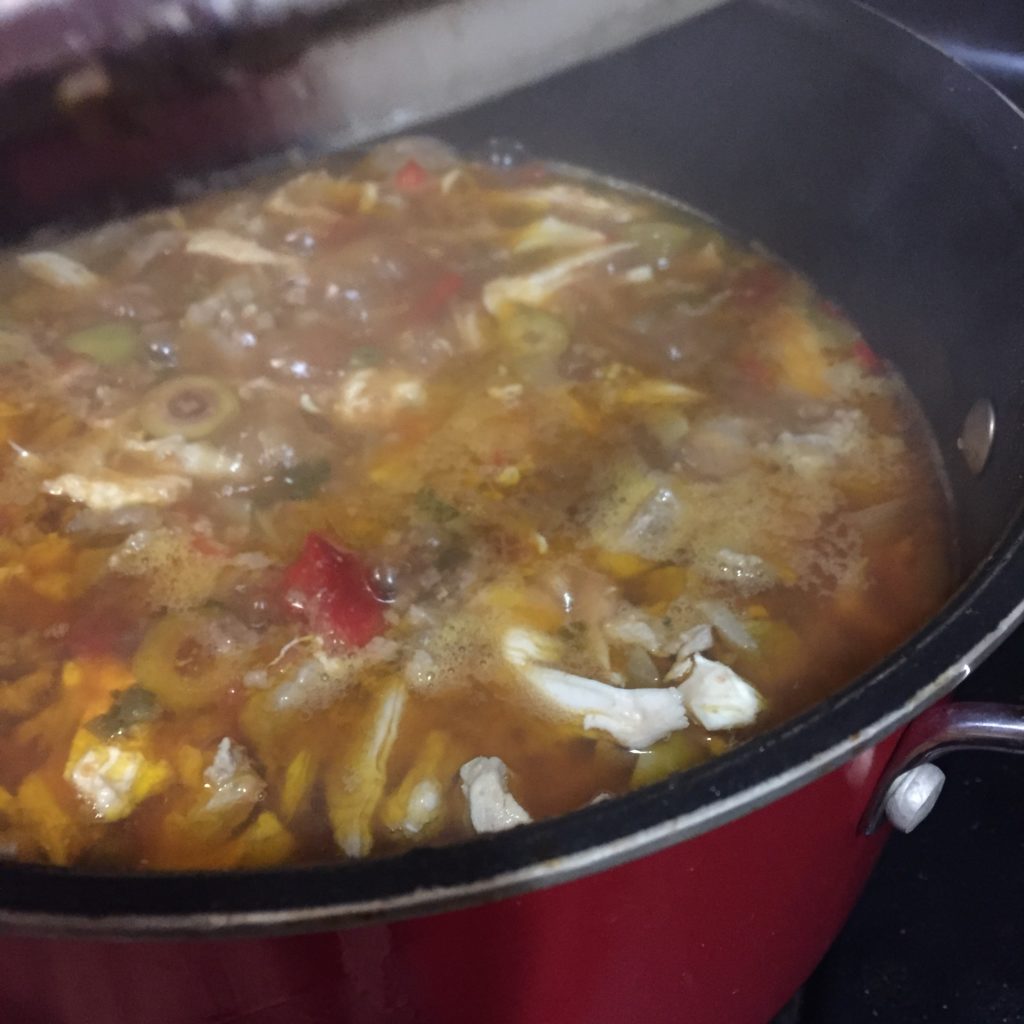
Finally add the shredded hen. Let it cook for 30 more minutes, stirring occasionally.
IMG_1364

Remove from heat and let it covered until it’s cool. Refrigerate overnight until 2 hours before using it.

For the Dough:

  • 1 package of Harina PAN (pre-cooked white corn flour, available at Latin grocery stores).
  • 3 cups of hen stock
  • 4 sticks of unsalted butter
  • 3 tsp of achiote paste (available at Latin grocery stores)
  • 1 tbsp salt

Place the achiote paste with the butter in a pan and warm it until they dissolve and create a reddish liquid. Set aside.

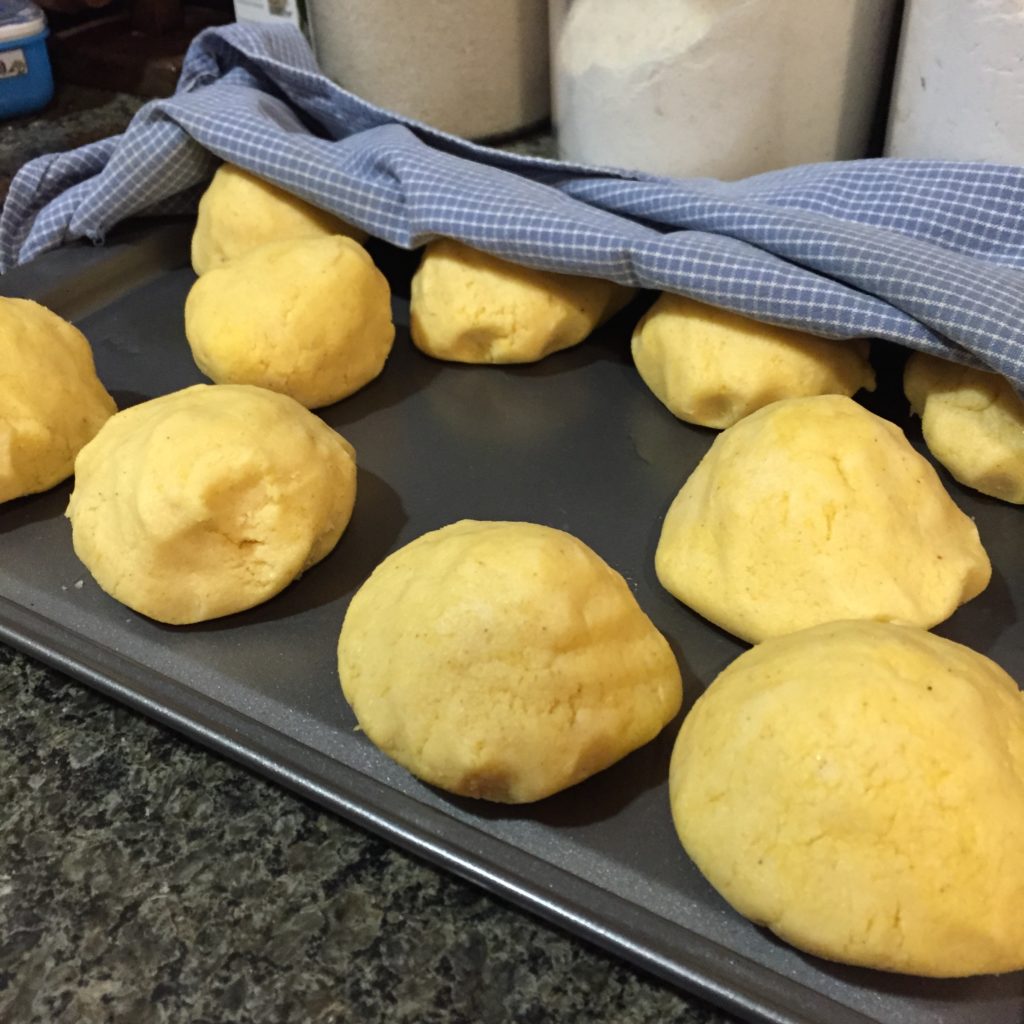
Using a large bowl, mix the flour and the salt. Slowly add 1 cup of the melted reddish butter to the flour and start mixing it. Then, add 1 cup of hen stock and continue kneading the dough. Repeat the steps adding fat and then the stock until you get a soft but firm consistency. The dough should be a dark yellow/orange color, smooth with no lumps.
IMG_1379

Make medium balls of the dough using and your hands, set aside and cover with a humid cloth. By the way, your  hands should be very shiny from the fat used on the dough. If they are not, add more butter or shortening to the dough.

Wrapping:

  • 2 packages of frozen plantain leaves (available at Latin grocery stores).
  • 1/4 cup white vinegar
  • 1 cup water
  • 1 piece of clean kitchen cloth or papel towels
  • cooking twine

The day before using the leaves, thraw the frozen package in the refrigerator overnight and leave it at room temperature 2 hours before cleaning them.

Use the the cloth or paper towel damped in the vinegar dissolved water to rapidly clean the leaves over the two sides. Set aside for the hallaca assembly.
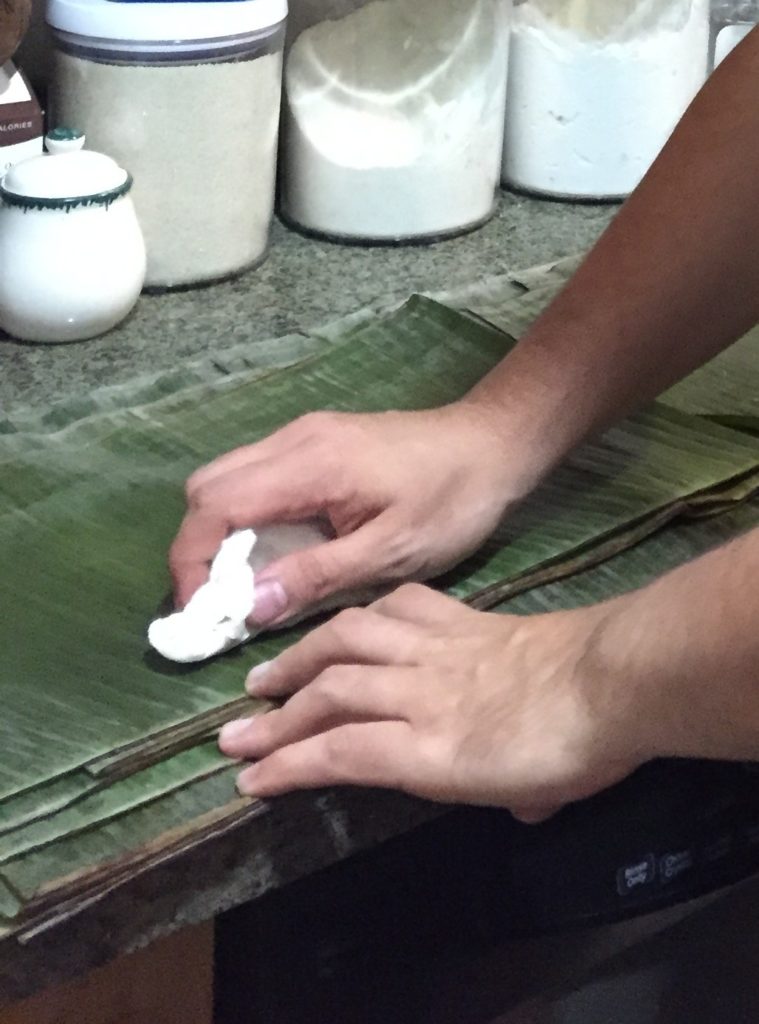
Each hallaca uses 3 leaves. You should cut them prior to its use.

The first leaf -the base- should be about 10 x 14 inches. The second, also called the “shirt”, should be about 8 x 10 and the last one, called “belt”, should be about 4 x 6 inches. I’m not completely sure about this meassures, but they can work as an approximetely. I suggest you watch some videos to learn how to properly wrap the hallaca since I’m not and expert AT ALL in that matter (Victor is!).

Cut about 1 yard of twine for each hallaca. For this recipe you’ll need about 20 yards.

Assembly 

You’ll need:

  • stew (room temperature)
  • 20 colored medium dough balls
  • plantain leaves already cut
  • 20 yards already cut cooking twine
  • 3/4 cup colored butter (made with achiote paste and regular organic butter, like the one for the dough)
  • garnish ingredients

Garnish Ingredients 

  • 1 cup roasted peppers (sold in jars at Trader Joe’s)
  • 2 medium sliced onions (in rings)
  • 1 cup sliced olives
  • 1/2 cup capers
  • 1/2 cup organic raisins
  • 1/2 whole or sliced raw almonds
  • 1/4 cauliflower pickled style (this is optional, I just had this in my fridge and thought of adding it)

Prepare your mise en place -prepare and organize everything you’ll need- for the assembly.
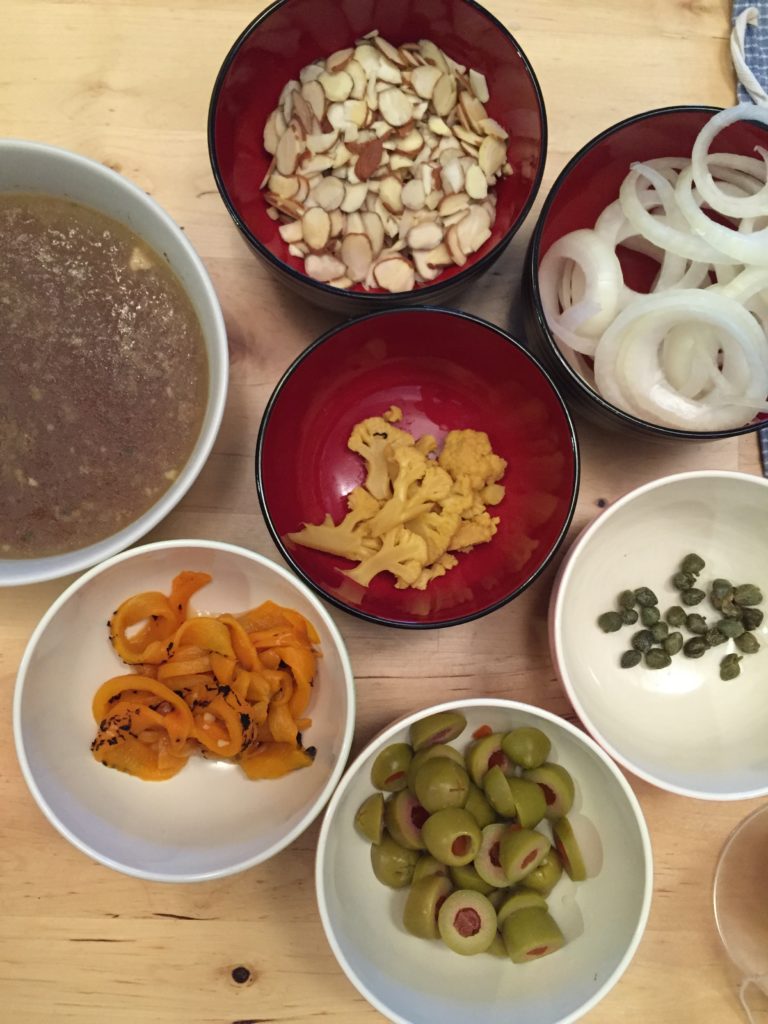
IMG_1387

Arrange the base leaf and add 1/2 tsp of red-colored butter. Use your fingers or a cooking brush to spread it through the leaf.

Put a medium dough ball in the center of the leaf. Flatten the dough, we used a plastic cutting board for this process, covered with a piece of plastic bag so the dough doesn’t stick to the board.
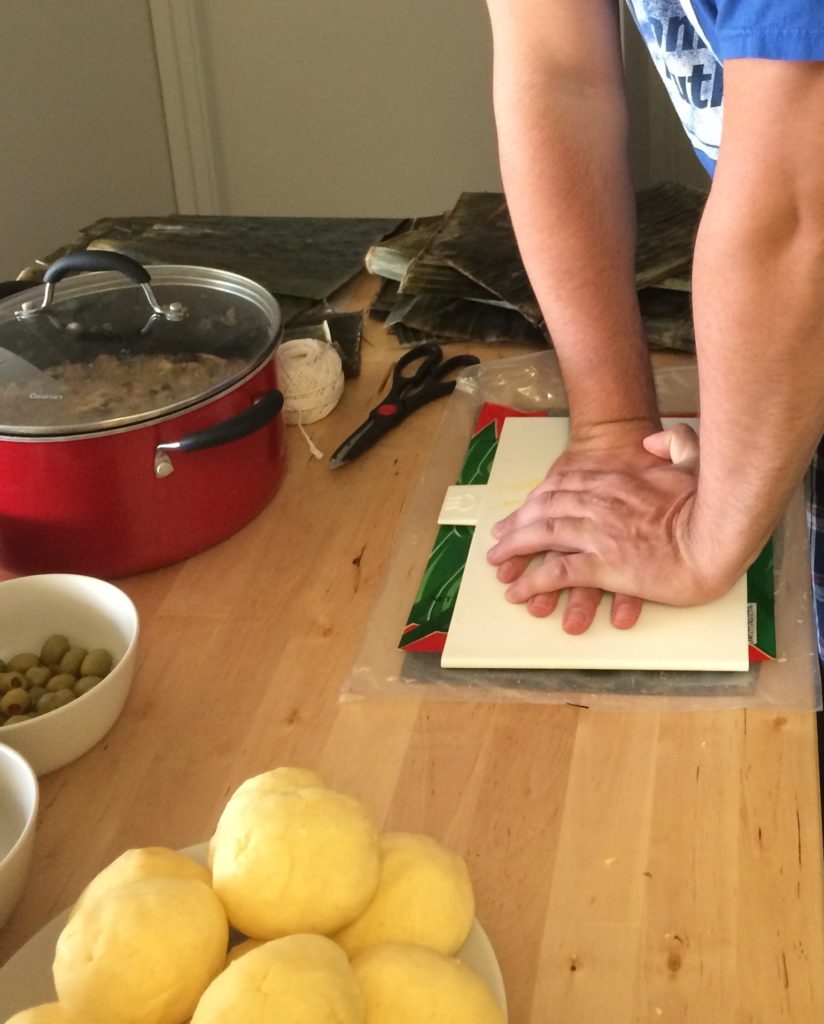
IMG_0184

Add 1/4 cup of the stew in the middle of the dough. Add the garnish ingredients.
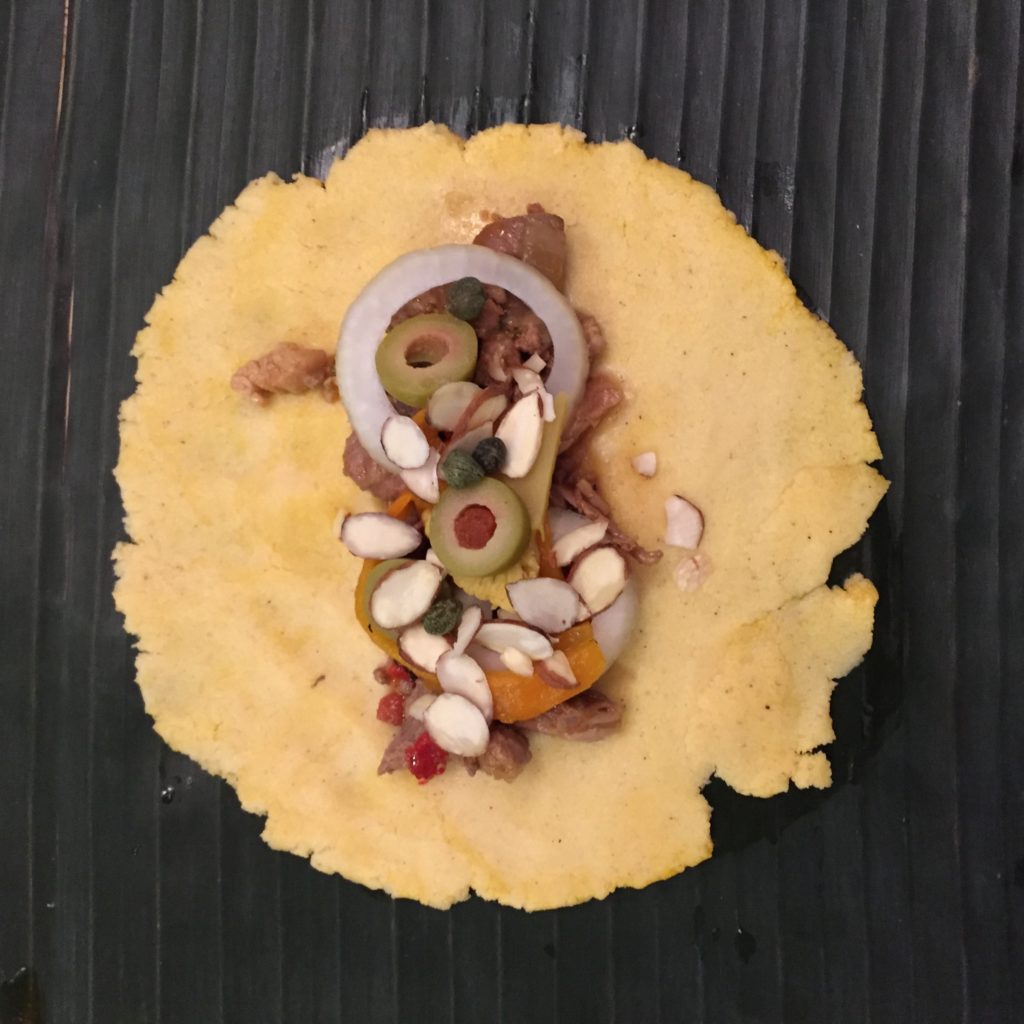
Fold over the plantain leaf carefully so it doesn’t break, first one side, then the opposite. Finally bring the ends of the leaf up covering the filling.
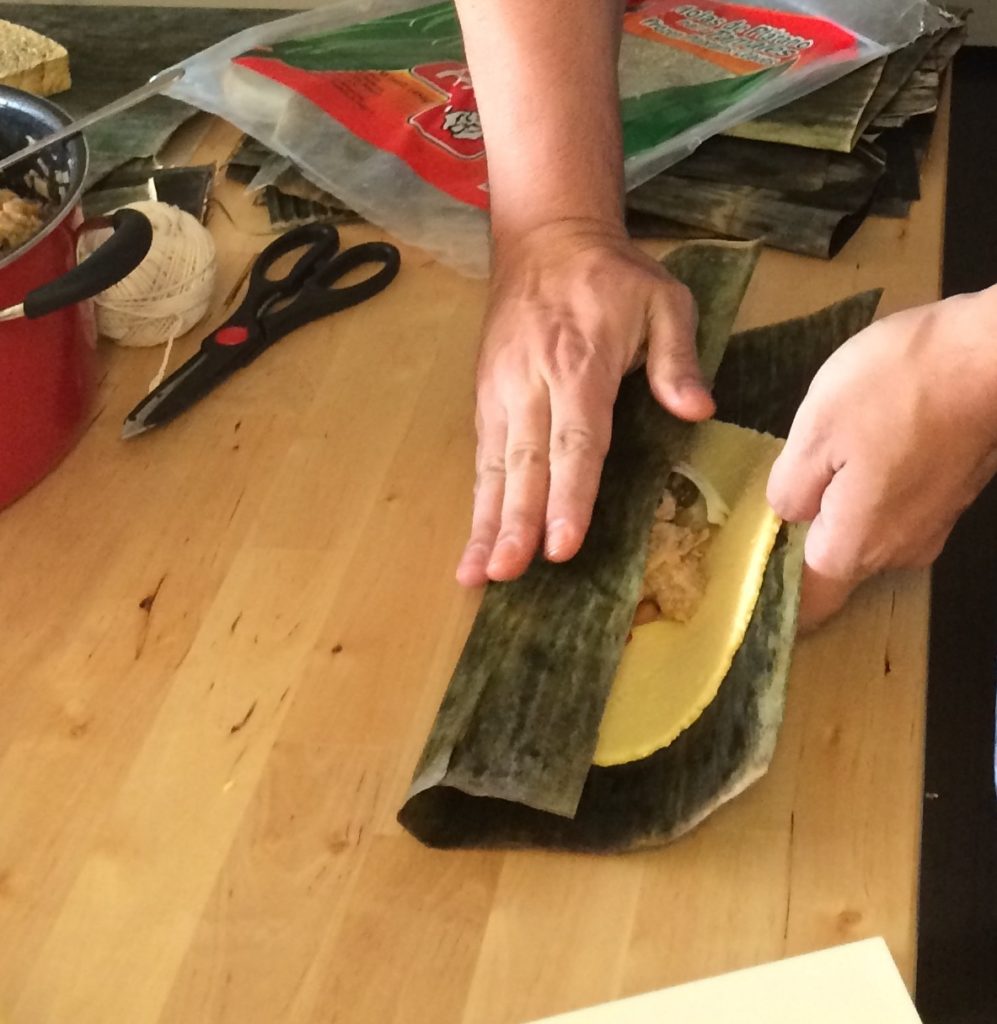
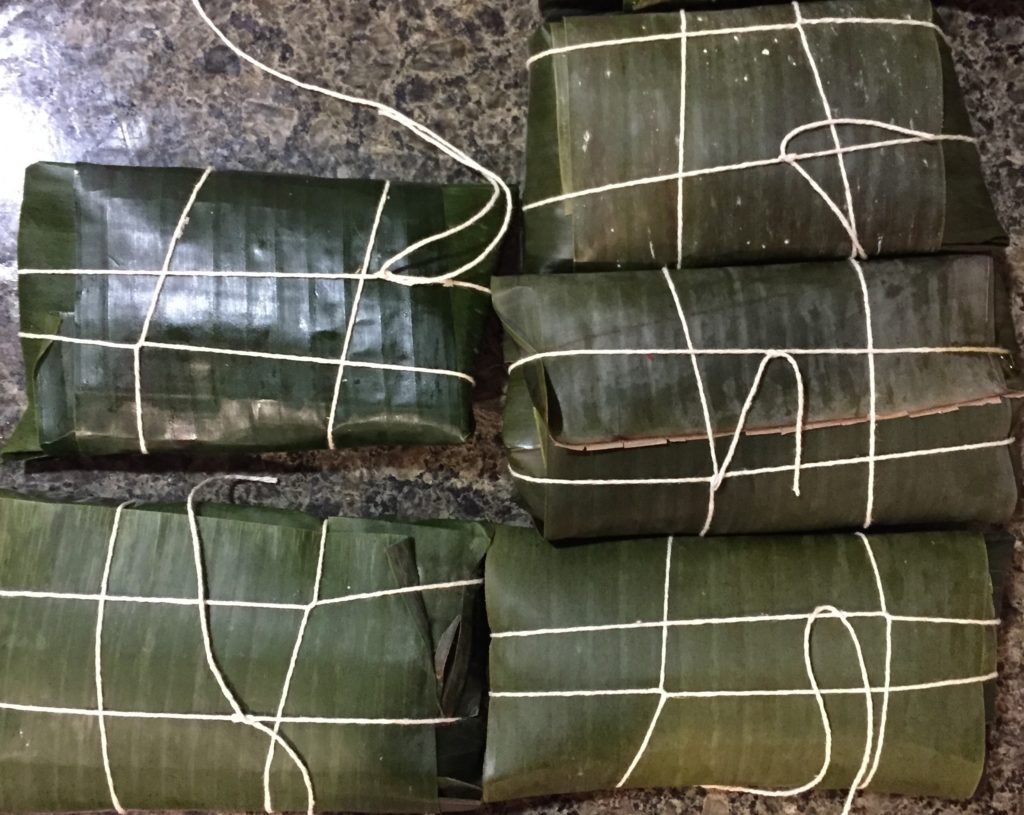
Place the hallaca over the second square of the plantain leaf and fold it again. Finally use the third leaf (belt) to hold the two pieces of leaf under it, wrapping the hallaca around with it.
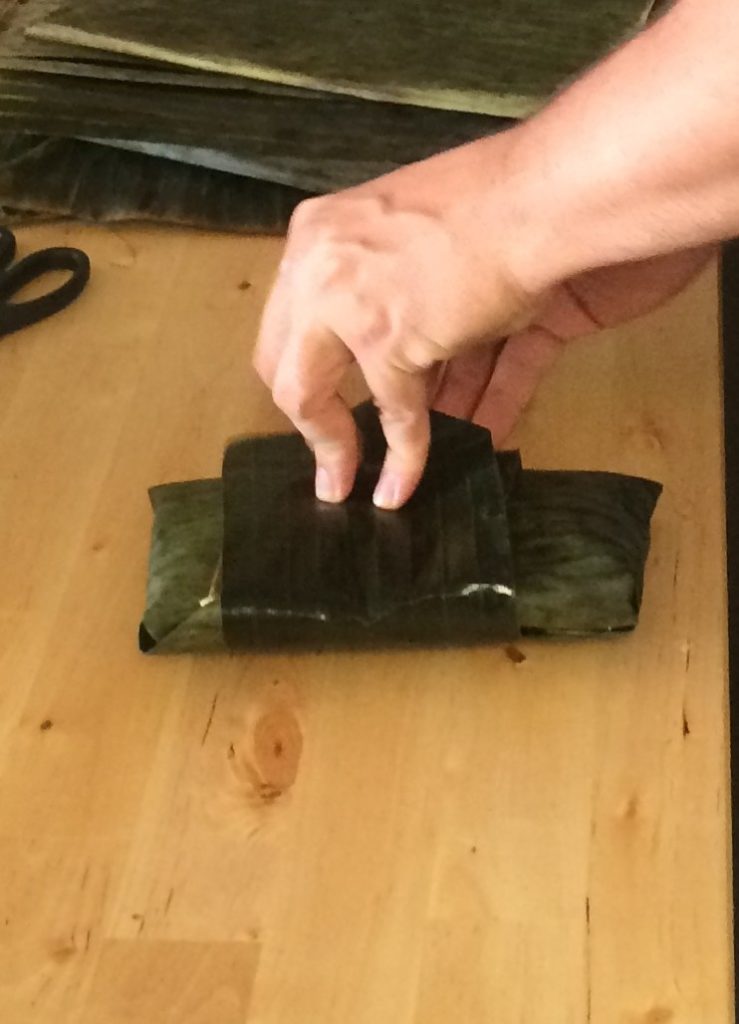
Tie the hallaca using the cooking twine to keep it secure during the cooking process.
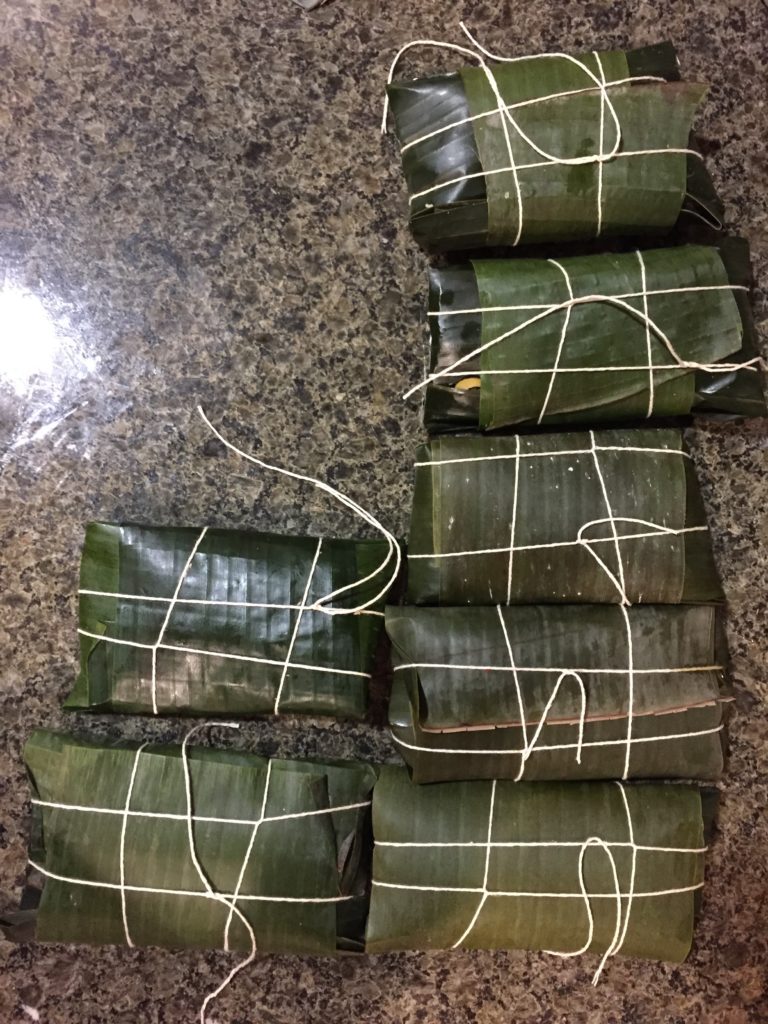
IMG_1392

Final process!

Bring water to a boil in large sauce pot. Place the hallacas in the pot, they must be covered by the water. Cook for 1.30h to low heat but keeping the water boiling, add more water if it needs it.

Remove it from the water and allow them to drain for 5 minutes standing on one of its sides over a plate.

If you want to freeze them, only cook them for 1 hour and then remove them from the water and let them cool down to freeze them. When you’d like to eat the hallacas, you’ll just need to cook them (frozen) for 30 more minutes. You cannot reheat them in the microwave.

Serving

Use kitchen scissors to remove the twine and the plantain leaves, remove them carefully. Serve immediately.
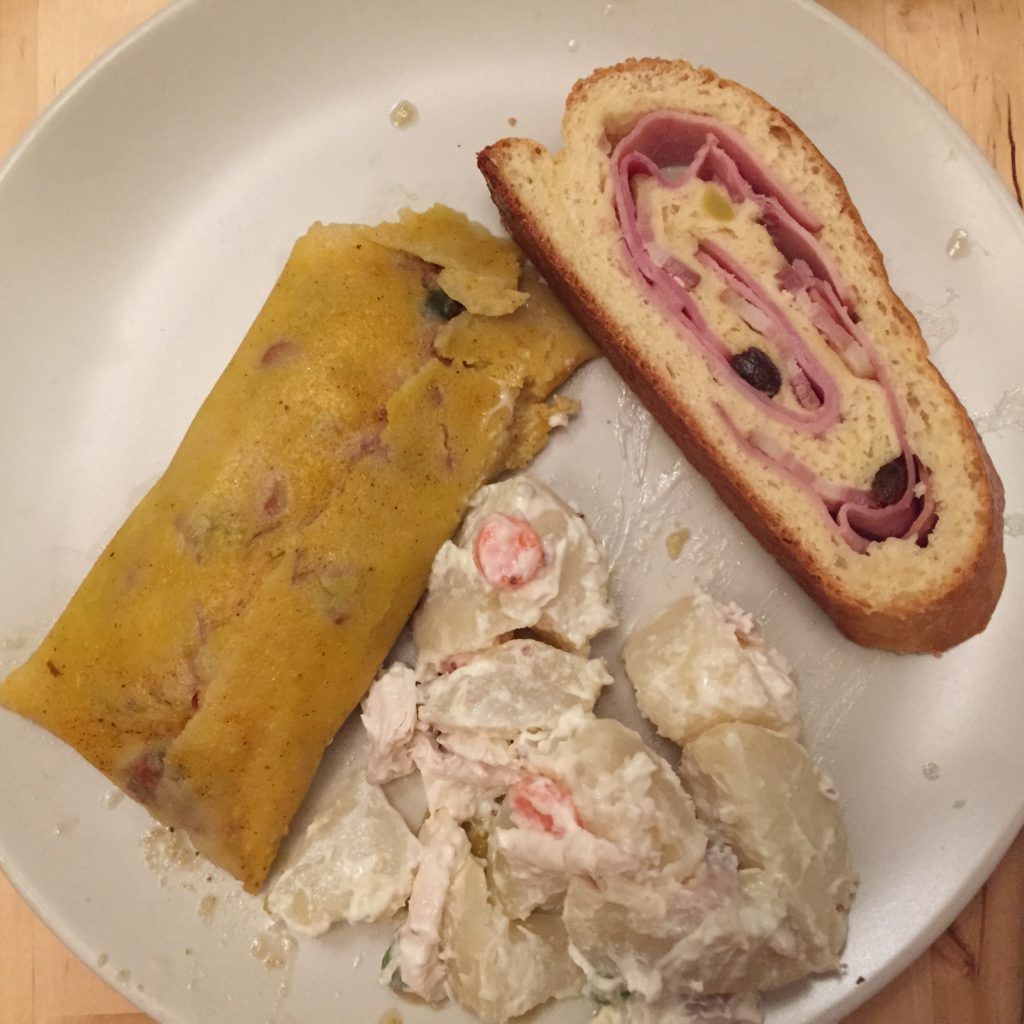
IMG_1426

Our Christmas dinner: hallacas, pan de jamon (ham bread), and ensalada de gallina (hen salad).

Enjoy it!
christmas in a jar

Maybe I went too far using the same jars for decorations in my home this year but I just can’t get enough of how lovely they look!

You’ve already seen how I used it for Halloween and for Thanksgiving… But this time, I decided to try using the jar in a craft project with Marco.

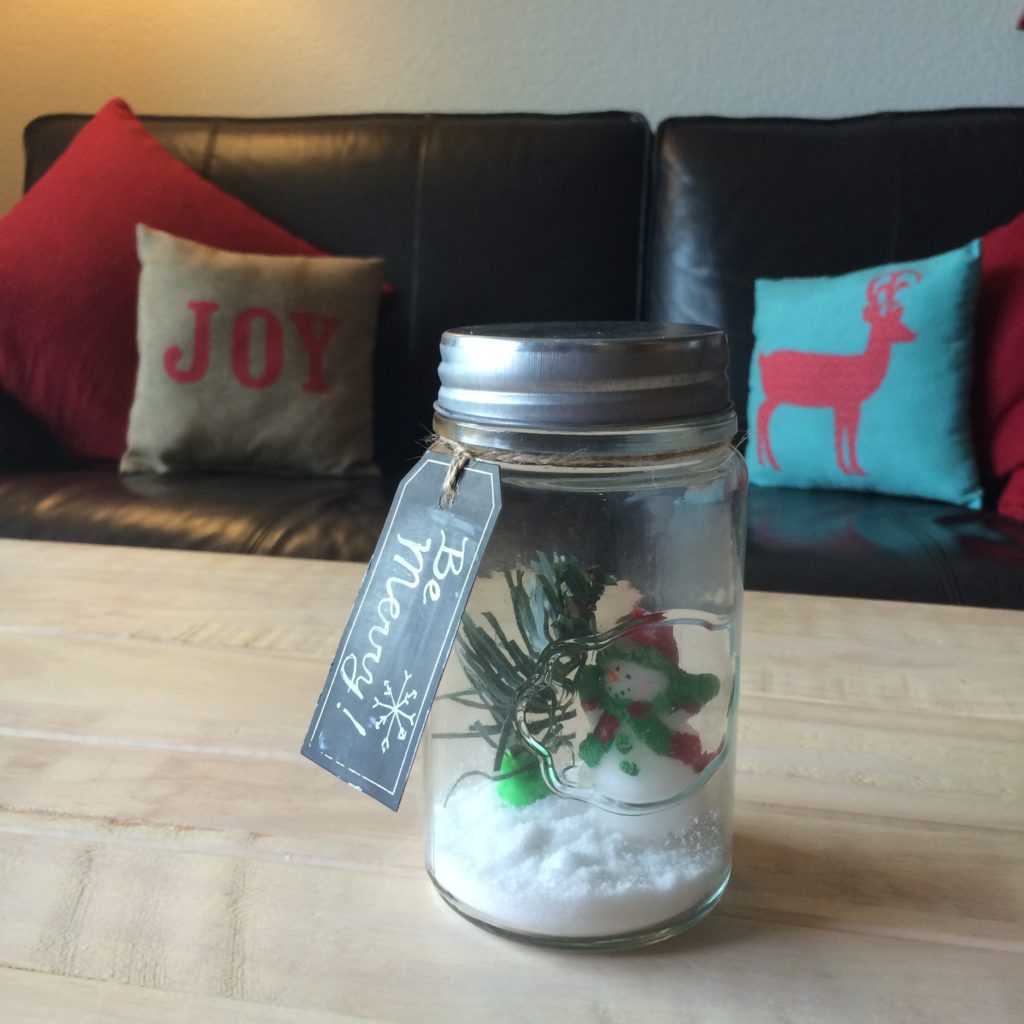
We used, of course… a jar, sea salt, a small  plastic pine branch that I cut it from our plastic christmas tree with some play dough on the base, a snowman candle that I had from previous years and one of the chalkboard tags with a new message: Be Merry! * (This time I used a white Sakura Gelly Roll to write the message).

IMG_0521

This jar project was fun, cute and easy to do. You just put all the elements inside and close the lid.

The only issue is that I don’t know how much time it will last on our coffee table since this little toddler grabs it anytime he goes by the table and start shaking it constantly! Anyway, it was fun!

PS: I’d love to know about your DIY christmas decorations! The season is just starting!

playing with acrylics

About 2 years ago,  Victor gave me a set of acrylics and brushes for my birthday. I never ever used them until yesterday. Procrastination, I guess.

Even-though my first time painting with acrylics was a great experience in my life, this new approach was by myself, with no teacher, and that was great as well.

I must admit that I felt a little lost, so I search the web and got to this tutorial for the painting that I wanted to try.

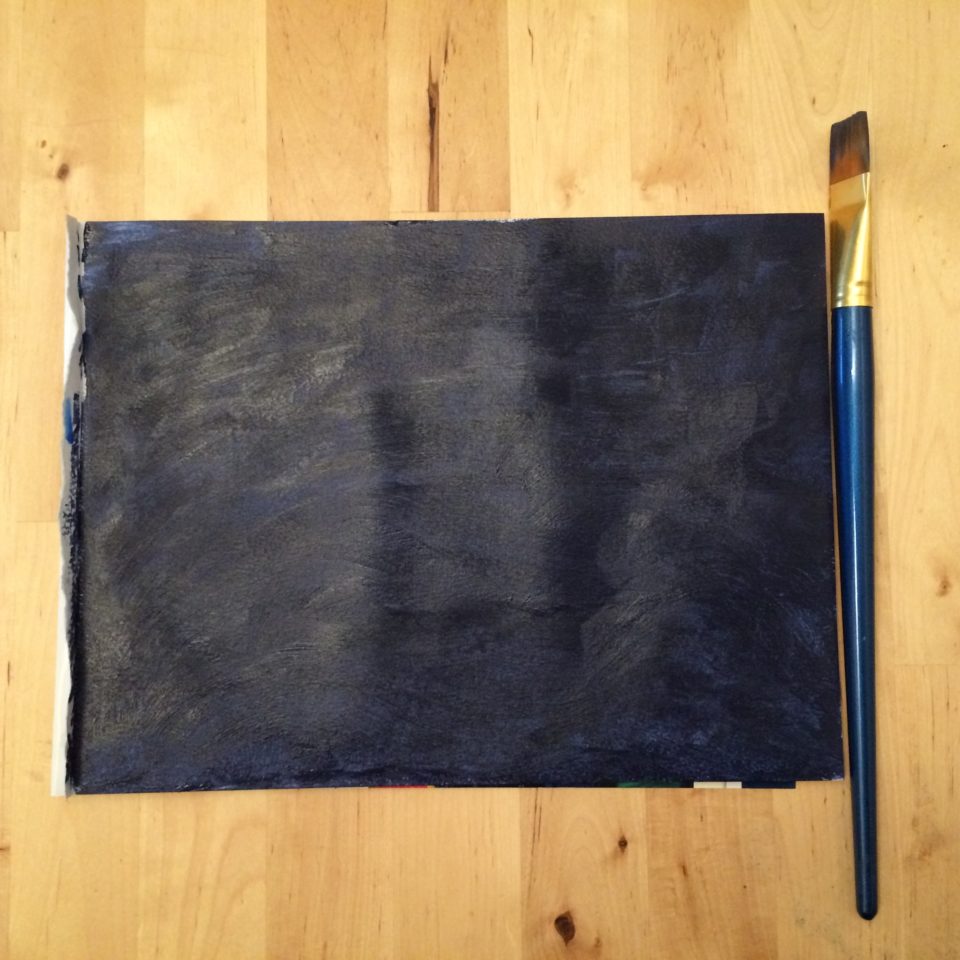
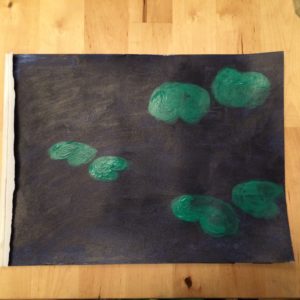
IMG_0343

I followed some steps from the tutorial but I didn’t use the charcoal so after the first step, I kind of followed my own path. I felt that it was more fun for me to explore and experience by my own.

IMG_0348

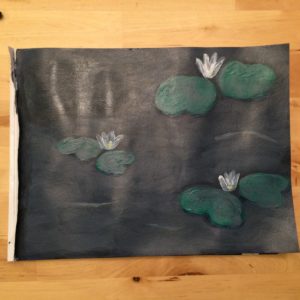
Light didn’t help in this picture, but anyway, it’s just to show you some of the process.

IMG_0353

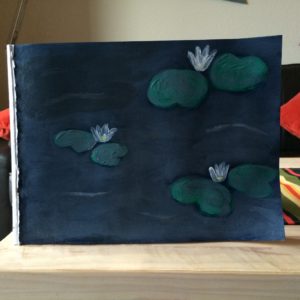
Today was a foggy morning in San Bruno so I took a picture with natural light, now that the painting was finally dried.

IMG_0375

It was a nice practice and I’ll try more often, I thought of using the same “sketchbook” so it gets kind of an art-journaling sketchbook.

Have a great weekend, folks!